How to Set Up Web SSH on Raspberry Pi [A Beginner's Guide]
Before we begin
While you manage your Raspberry Pi remotely, you might also need graphical remote support for other devices like phones and computers.
For those needs, AirDroid Remote Support can let you control other devices with easy-to-use pictures and buttons.
Before we begin
While you manage your Raspberry Pi remotely, you might also need graphical remote support for other devices like phones and computers.
For those needs, AirDroid Remote Support ![]() can let you control other devices with easy-to-use pictures and buttons.
can let you control other devices with easy-to-use pictures and buttons.
Ever wished you could control your Raspberry Pi from anywhere, even if it's tucked away without a screen? That's exactly what Web SSH makes possible. This guide will walk you through setting up this powerful tool, allowing you to manage your Pi remotely from any web browser, perfect for anyone new to remote computing.
A Quick Look at Raspberry Pi & Web SSH
Just unboxed your first Raspberry Pi? It's a powerful little device, but getting started with a "headless" setup (without a screen or keyboard) can feel tricky. Web SSH is your solution.
What is a Raspberry Pi?
It's a tiny, credit card-sized computer, popular for projects because it's both powerful and affordable. Since it often runs without a dedicated screen or keyboard, remote access is a must.

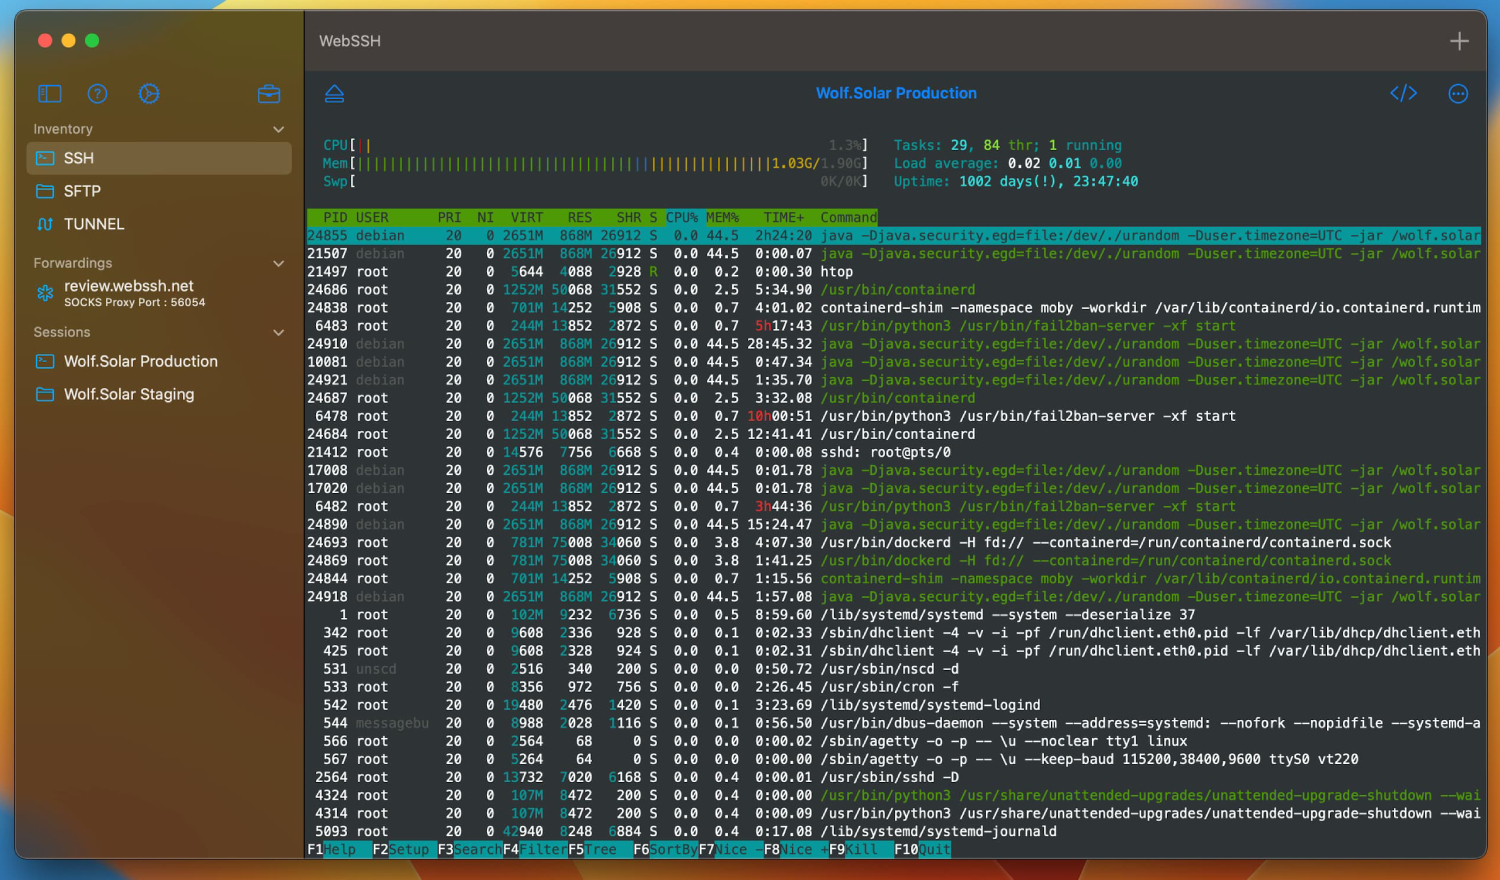
What is Web SSH?
It's your virtual portal to the Pi. By setting it up, you can open a terminal in any web browser and type commands to control your Raspberry Pi from your laptop, tablet, or even your phone. It's incredibly convenient and makes managing your projects a breeze.
Two Ways to Get Started
You have two main options for setting up Web SSH. Each has its own benefits, so you can choose the one that best fits your comfort level.
Method A: The Easy Online Service
This is the recommended starting point for most beginners. An online service handles all the tricky parts of network and security setup for you.
Why You'll Like It:
- It's unbelievably easy to get up and running in minutes.
- You won't need to change any of your router's settings.
- Many services offer bonus features like remote desktop viewing and file management.
What to Keep in Mind:
- You're entrusting a third-party with your connection, meaning your data is routed through their servers.
- While reputable services encrypt this data, it is a trust-based model.
- A subscription might be required for advanced features.
Service Examples: In addiction, you can check out modern services like Tailscale or remote.it, which are popular in the community for their simple setup and high security.
Here's how to do it:
1. Find a reliable service like PiTunnel, Tailscale, or remote.it.
2. Head to their website and sign up.
3. The service will provide a simple command for you to run on your Raspberry Pi. This installs a small software client that securely links your Pi to your account.
4. Now, just log in to the service's website from any device, and you'll see your Raspberry Pi listed and ready to go.
Note: You can also refer to the detailed steps in the Tailscale guide to SSH into a Raspberry Pi.
Method B: The Hands-On Self-Hosted Server
If you enjoy a good technical challenge and want full control, this method is for you. It's a fantastic way to deepen your understanding of how servers work.
Why You'll Like It:
- You have complete ownership of your data and server.
- The software is free, and your connection is direct and private.
What to Keep in Mind:
- This requires more manual work.
- If you want to access your Pi from the internet, you'll have to deal with something called "port forwarding," which can be a bit tricky and poses a security risk if not handled carefully.
Here's how to do it (using Shellinabox):
1. Start with an Update: A good first step is to ensure your Pi's software is up to date. Open the terminal and run these two commands:
sudo apt update       # Fetches the list of available updates from software repositories.
sudo apt upgrade -y   # Installs all available updates without asking for confirmation.
2. Install the Web SSH Server: Install the classic Shellinabox server with a single command:
sudo apt install shellinabox(For a more modern, actively maintained alternative, you can also install `ttyd` with `sudo apt install ttyd`. It works in a very similar way.)
3. Find Your Pi's IP: To connect to your new server, you'll need its local IP address. Run this command:
hostname -IYou'll see a number like 192.168.1.100.
4. Connect on Your Home Network: On any device connected to the same Wi-Fi, open a browser and type: http://(Your_Pi_IP_Address):4200 (or 7681 for ttyd). You should see a login prompt. Use your Pi's username and password to start typing commands.
5. For Remote Access (Advanced Topic): For beginners, we highly recommend you only use this method on your home network. If you need remote access from outside your home, consider this an advanced topic that requires a more secure solution like a VPN or reverse proxy rather than simple port forwarding.
Keeping Your Pi Safe
Security is not a suggestion; it's a necessity. Follow these crucial steps to protect your Raspberry Pi and your network.
- Change That Password! The default password "raspberry" and username "pi" are famous. A hacker's first guess will be this combination. Change them immediately by running the `passwd` command and following the prompts.
- Don't Be 'pi' Anymore: After changing the password, it's also a great practice to change the default username. Automated hacking scripts often target the 'pi' username. To do this, use the built-in configuration tool:
sudo raspi-configNavigate to "System Options" > "Password" and follow the prompts to change the username.
sudo apt install ufw      # Installs the firewall.
sudo ufw allow 22         # Allows access for standard SSH.
sudo ufw allow 4200       # Allows access for your Web SSH server.
sudo ufw enable           # Turns on the firewall.
This simple setup will block any malicious scans on other ports.
Conclusion
Web SSH is a game-changer for anyone using a Raspberry Pi. Whether you choose the simplicity of a third-party service or the control of a self-hosted server, you'll find that managing your projects becomes more flexible and convenient. Just remember to prioritize security, and you'll be ready to take on anything your projects demand.


Leave a Reply.