
How to Enable FTP Server on Windows 10

Filed to: Quick Guides

FTP (File Transfer Protocol) server allows the sharing of files over the internet. If you're looking to enable an FTP server on Windows 10, here's a simple guide:
1
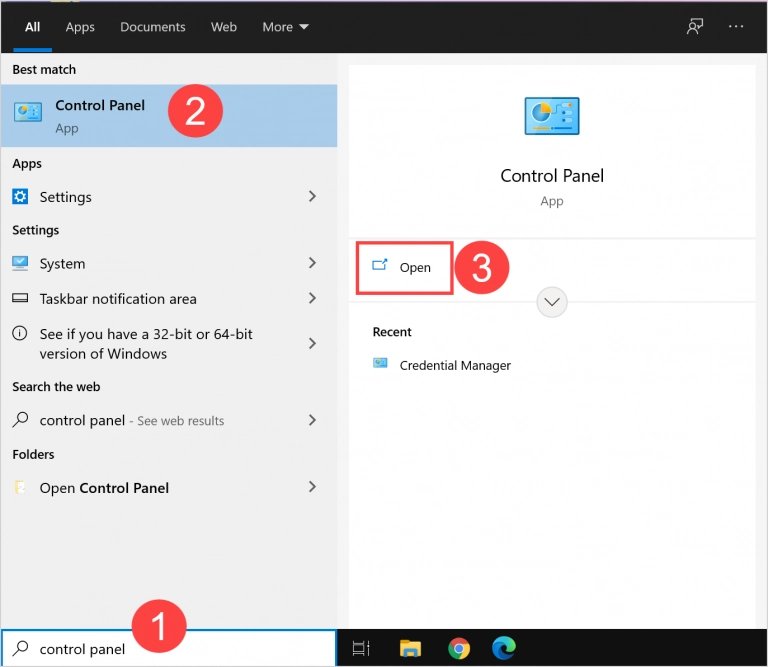
Open Control Panel
On your Windows 10 computer, click on the search bar or magnifying glass icon located on the taskbar. Type 'Control Panel' and select the 'Control Panel' application from the search results.
2
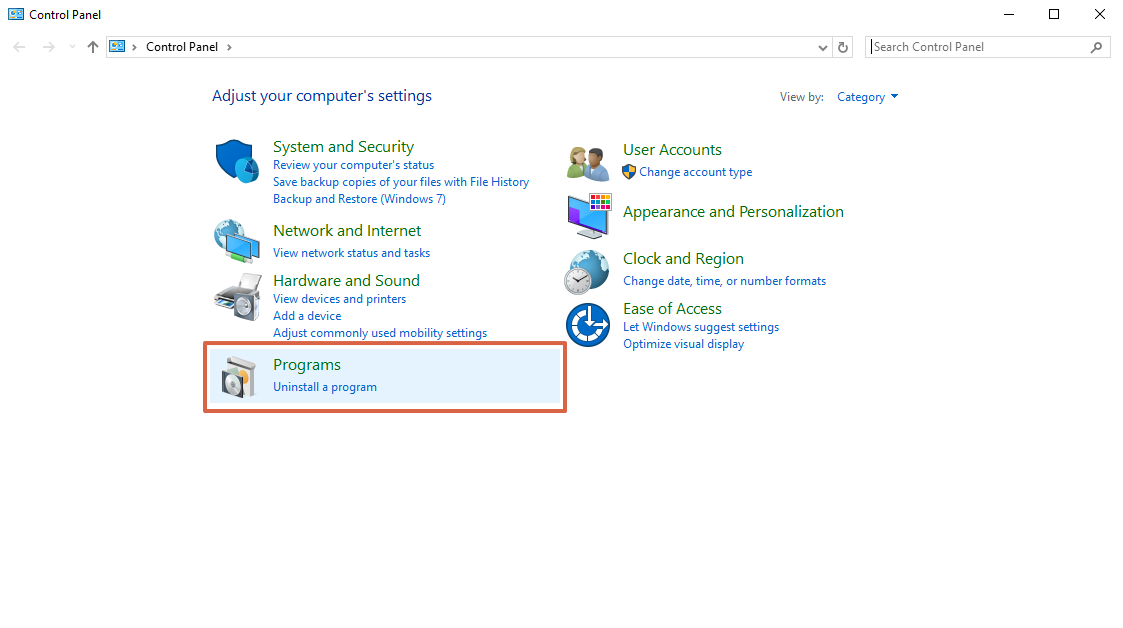
Select Programs
Within the Control Panel, find and click on 'Programs'.
3
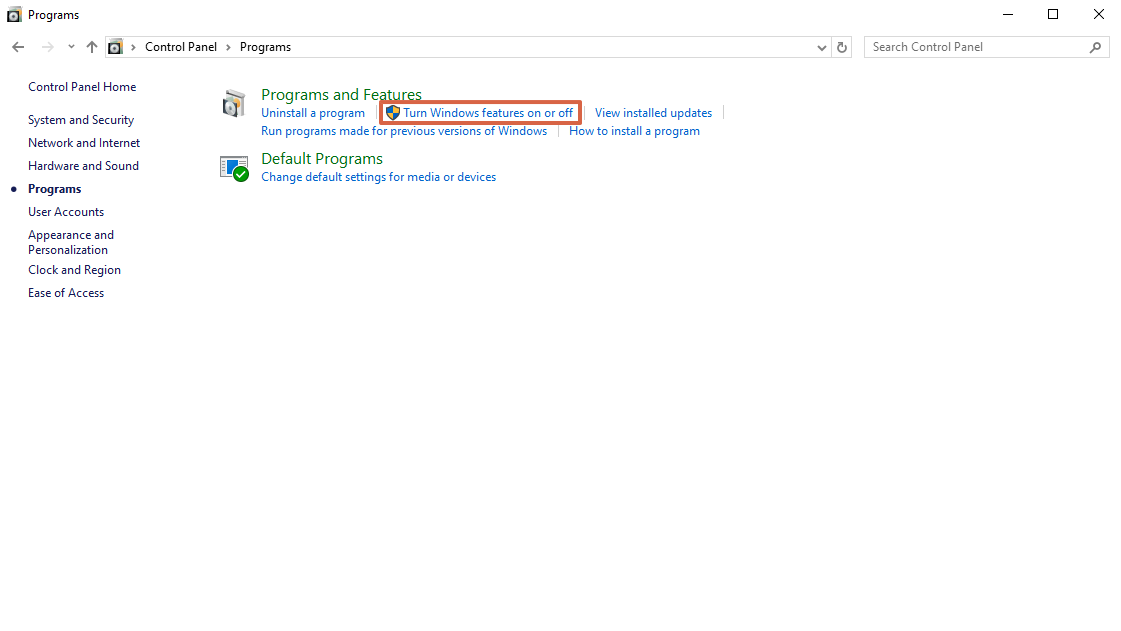
Go to Turn Windows Features On or Off
Under 'Programs', select 'Turn Windows features on or off'.
4
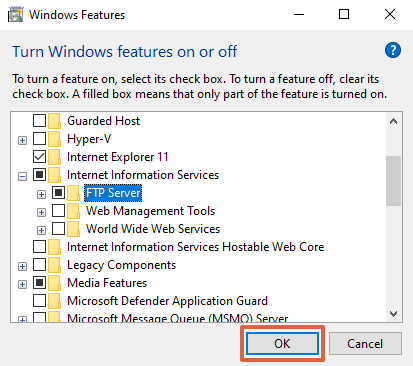
Enable FTP Server
In the Windows Features dialog box, scroll down to 'Internet Information Services'. Expand this item, then expand 'FTP Server'. Check the box next to 'FTP Server' to enable it.

5
Enable FTP Server
Click 'OK' to apply the changes. Windows will search for the required files, install the FTP server, and notify you when the process is complete.
Get a Start with AirDroid Business Now


Leave a Reply.