

How to use the General Setting Policy on AirDroid Business to customize devices’ APN Settings, Language, and Volume?
The General Setting Policy In AirDroid Business allows administrators to customize various device settings, including APN (Access Point Name) settings, language preferences, and volume control. This policy will enable organizations to tailor these settings according to their specific requirements, ensuring a consistent and personalized experience across all managed Android devices.
In this article, we will provide a step-by-step tutorial on how to use the General Setting Policy in AirDroid Business. Let's get started.
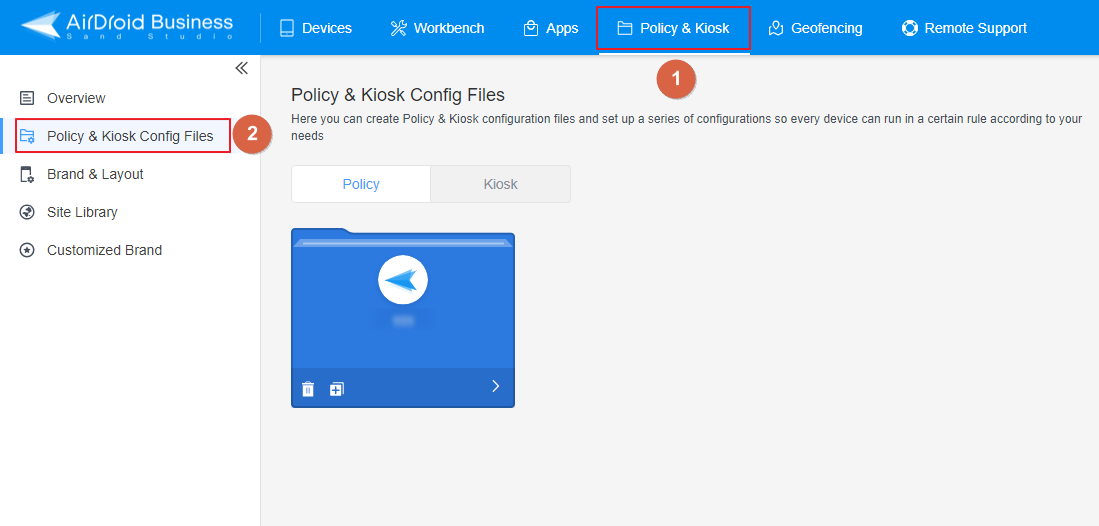
- Step 1Access Policy Setting
- Log into Admin Console, navigate to the "Policy & Kiosk" Section on the dashboard, and click "Policy & Kiosk Config Files".
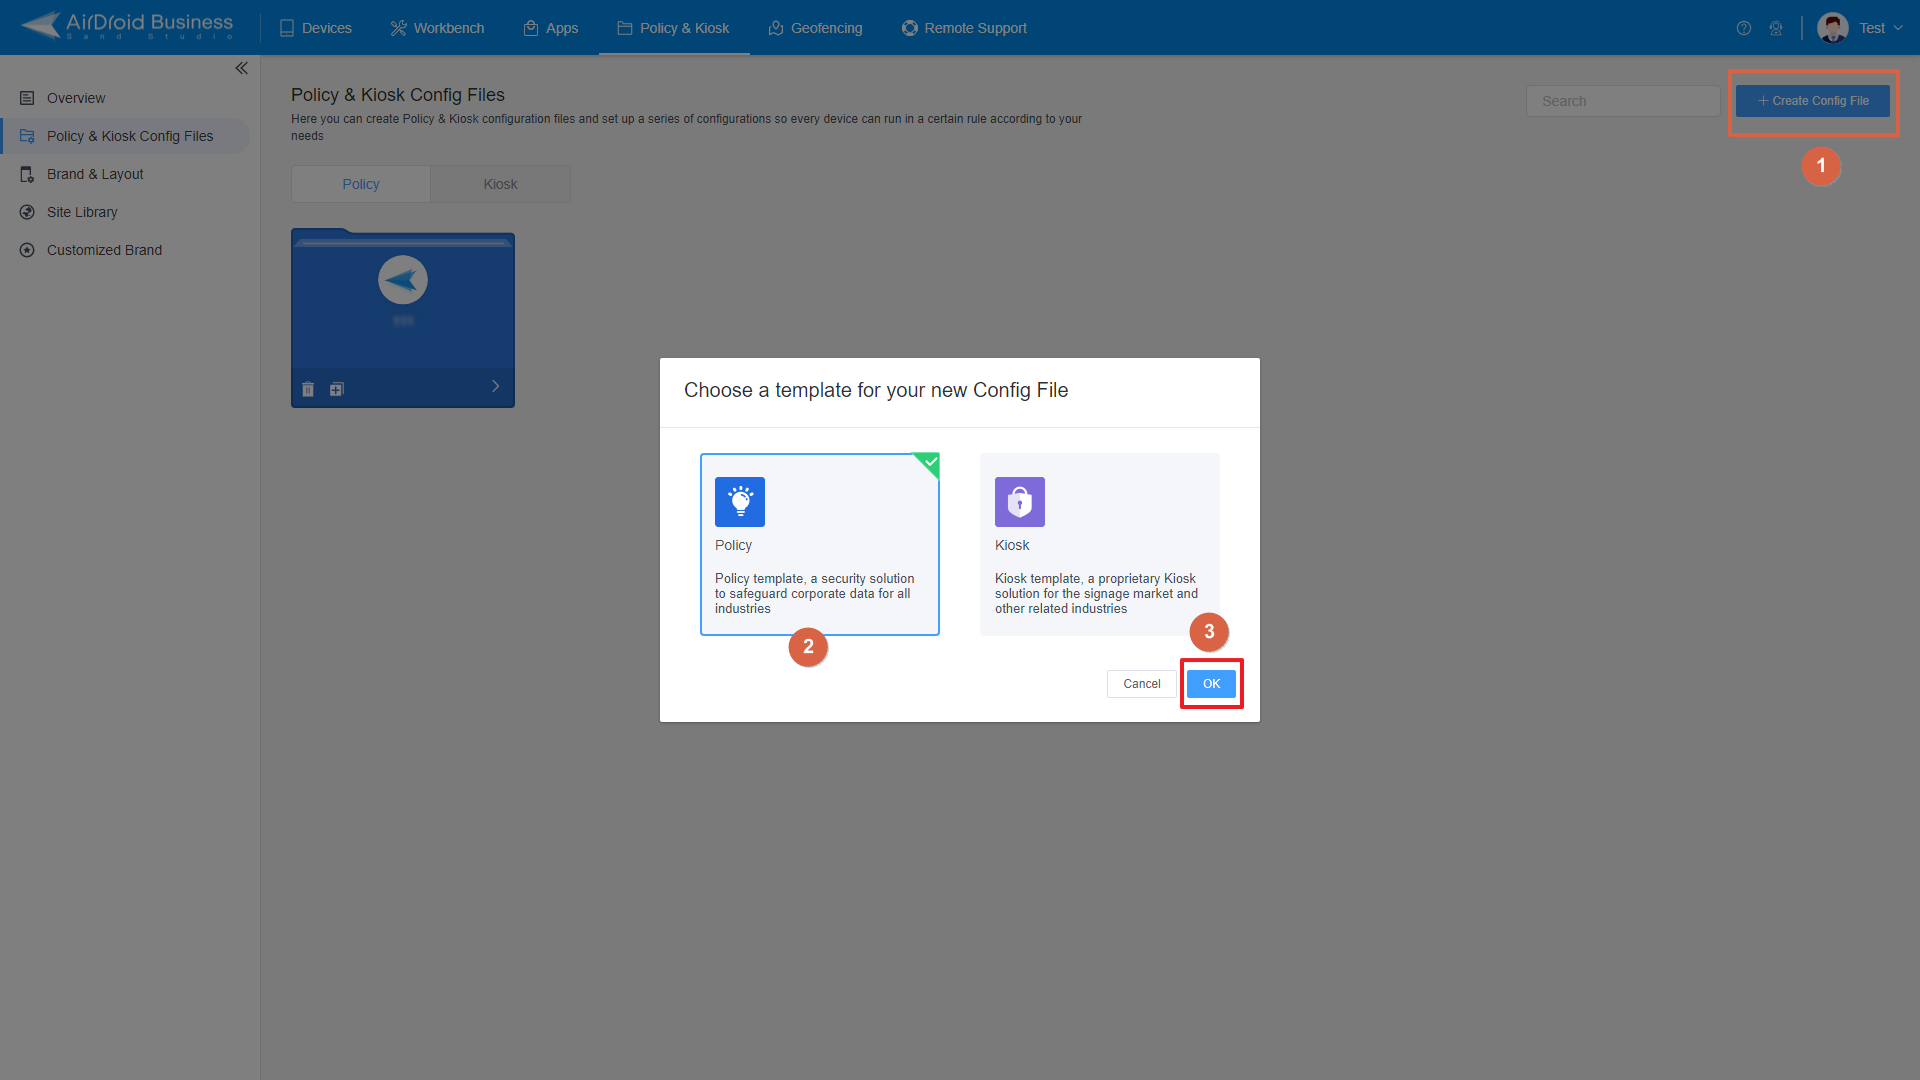
- Step 2Create or Edit a Policy
- In this section, you have the option to either create a new policy or modify an existing one.
- ● To create a new policy, click on "+Create Config File", choose "Policy" and then click "OK" on the pop-up.
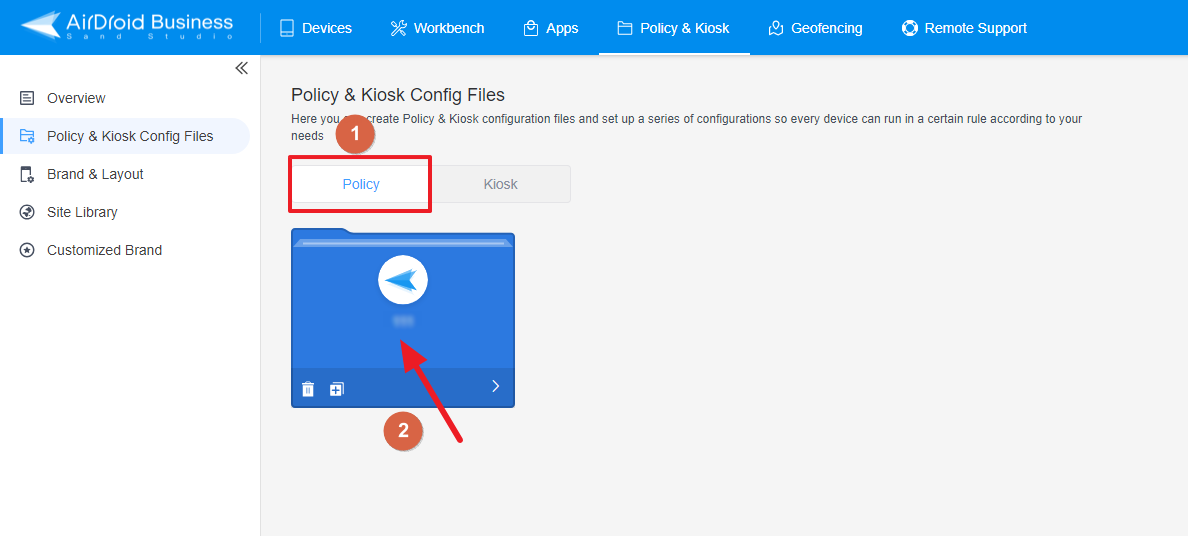
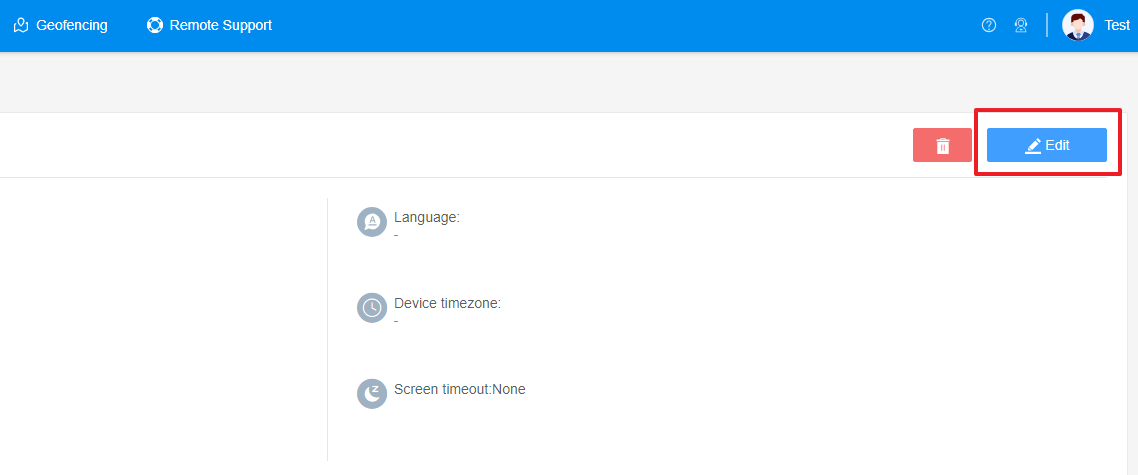
- ● To modify an existing Policy, switch to the "Policy" tab, select the Policy File you want to modify.
- Click on the "Edit" Button in the top right corner. On the following page, you can set all kinds of limitations and settings for your config file.
- Step 3Access the "General Settings" Policy Section
- Click on [General Settings] In the left navigation bar to access the "General Settings" Policy.
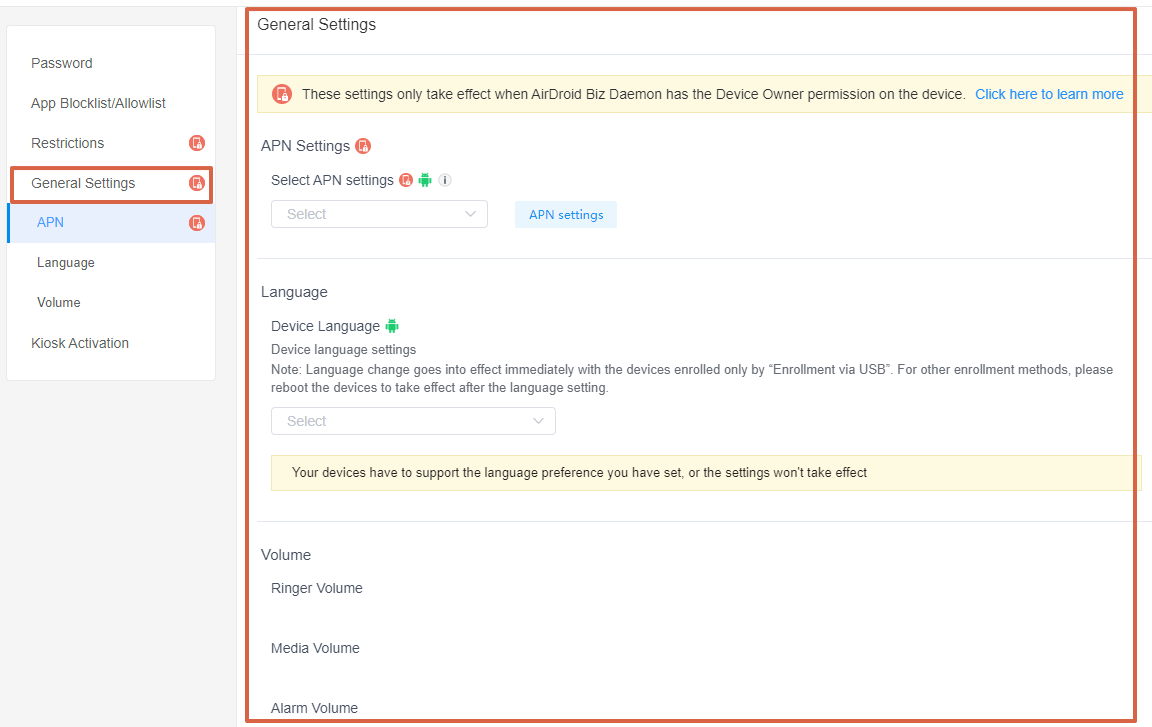
- Step 4Set up the APN Setting Policy
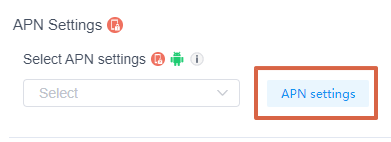
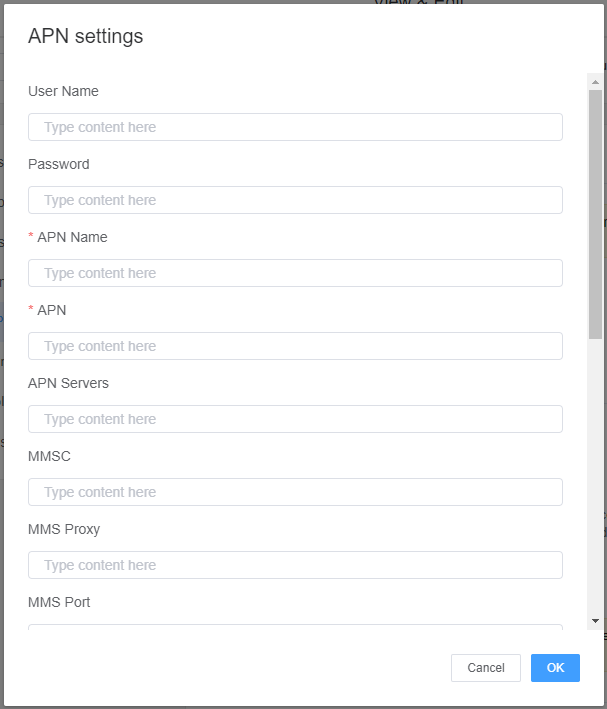
- Click the button [APN settings] and enter the APN information to add the APN.
- Click the dropdown box to select the APN you added before.
- Step 5Set up the Language Policy
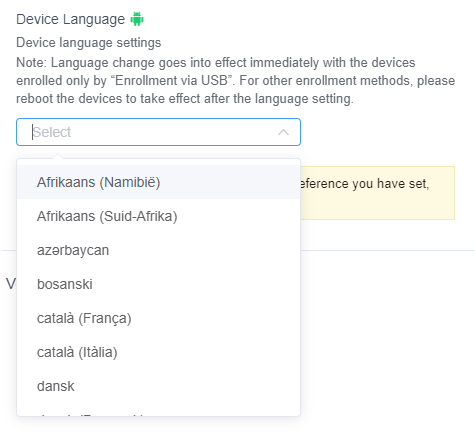
- Within the General Setting Policy, find the "Device Language" option.
- Select the desired language from the available options in the dropdown box.
- Step 5Set up the Volume Policy
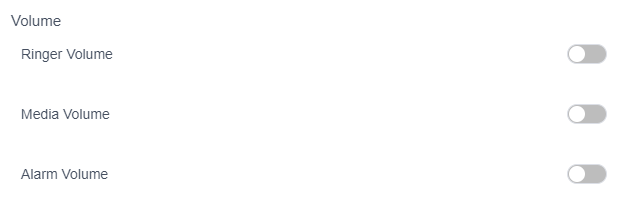
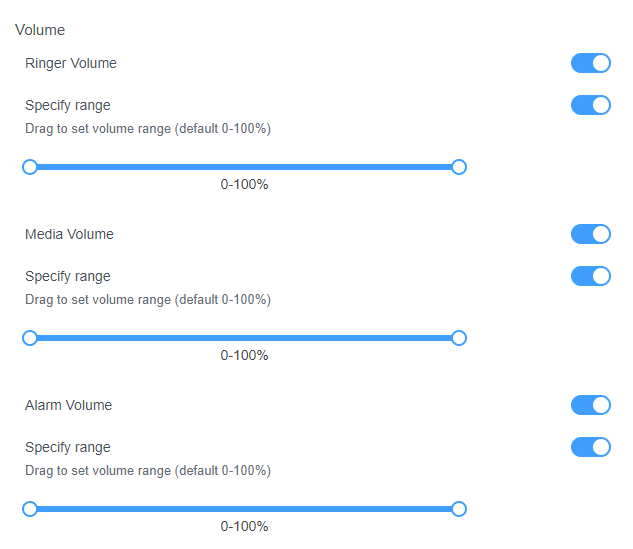
- Scroll down to the "Volume" section within the General Setting Policy.
- Select the volume control options for your business need, such as ringer, media, and alarm volumes.
- Enable the desired options and drag to set the volume range to lock it within your specified limits.
- Step 5Save and Apply the Policy
- After setting up the this Policy, click "Save" button on the top right corner.
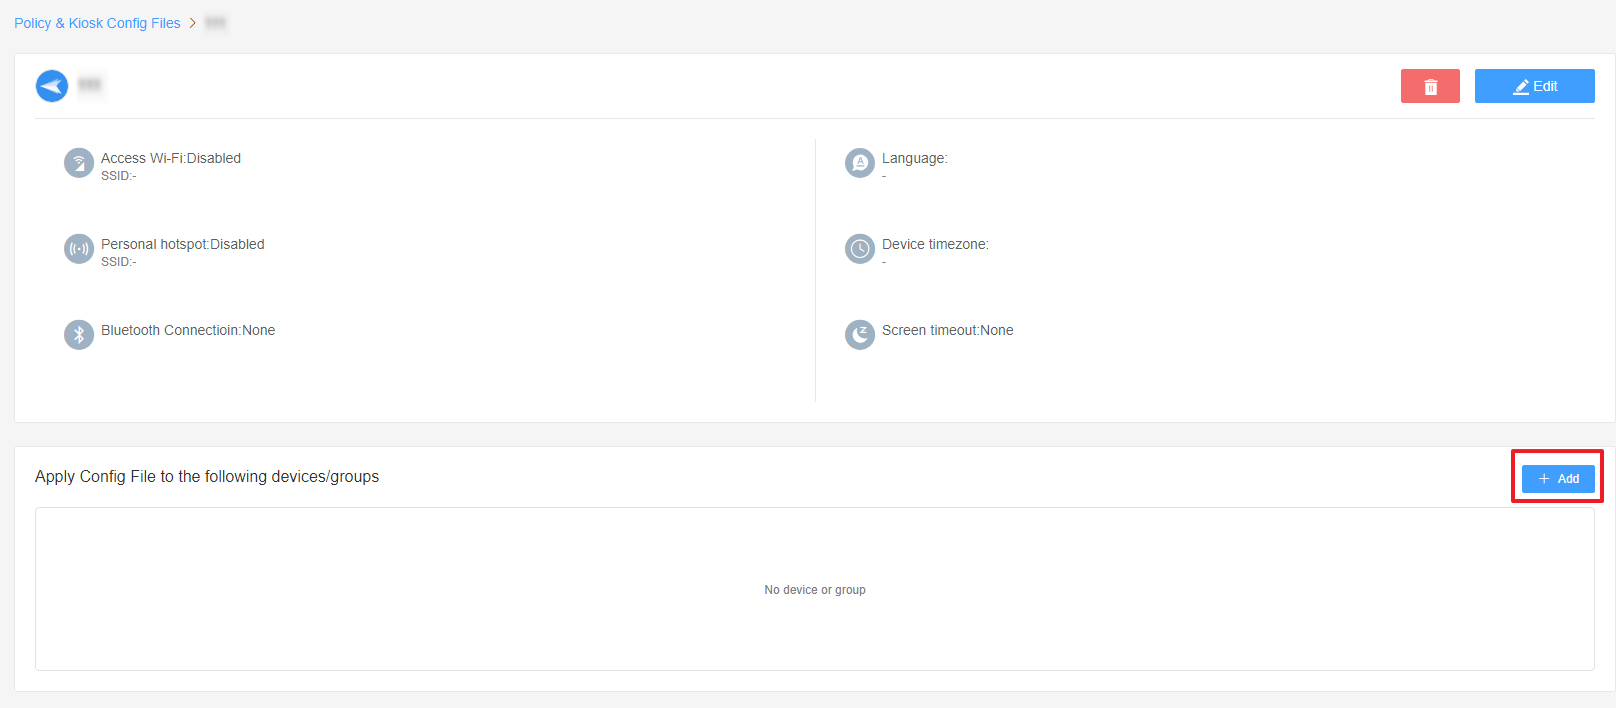
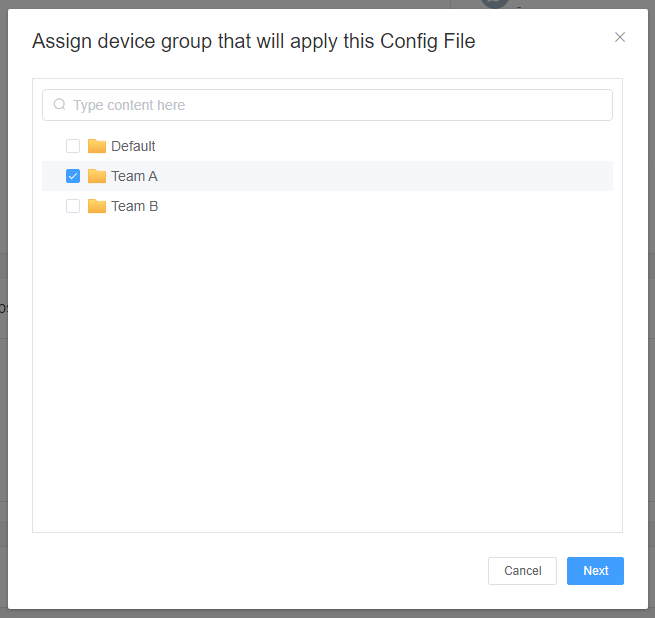
- Then, return to the Policy Management section, select the policy you created or edited, find the [Apply Config File to the following devices/groups] and click [+Add]. Choose the devices or groups you want to apply the policy to and confirm.
- When the status in the list turns to "Applied successfully", the policy settings have been successfully applied to the target devices.

2. These settings only take effect when AirDroid Biz Daemon has the Device Owner permission on the device.
3. Devices enrolled through Android Enterprise or Zero Touch are not supported.

2.Your devices must support the language you've set to, otherwise the settings will not take effect.
3.This feature only supports devices with Android 7.0 and above.


By utilizing the General Setting Policy in AirDroid Business, administrators can easily customize APN settings, device language, and volume control on managed Android devices. This level of customization ensures that devices are tailored to meet organizational requirements and user preferences.
Still need help? Submit a request >>
Related Articles
- How to Use OEMConfig Policy to Restrict the Samsung Device
- How to implement App Blocklist/ App Allowlist on AirDroid Business?
- How can I control camera access using Camera and Lockscreen Camera Settings in AirDroid Business?
- How can I set up password rules with Android Password Policy in AirDroid Business?
- How do I manage Microphone Permissions in AirDroid Business?
You May Also Like
- How to use App Allowlist for Kiosk Mode in AirDroid Business?
- How to Set up Kiosk Website Allowlist on AirDroid Business?
- How to set up Kiosk Browser Settings on AirDroid Business?
- How do I Customize the Kiosk Brand within AirDroid Business?
- How to Modify My Brand and Layout in Kiosk Mode of AirDroid Business?