Table of Contents


How to Customize Brand for the Notifications?
Table of Contents[ShowHide]
AirDroid Business provides a feature to customize the Notification app name and icon.
This can help in maintaining brand consistency and making the notifications more recognizable for your users.
Note : Before you start customizing the brand for your notification, please understand that due to system requirements, when the application name and icon are changed, Biz Daemon must be re-installed for the customized part to be applied to devices.
To Customized Brand for the Notifications, please follow the steps below:
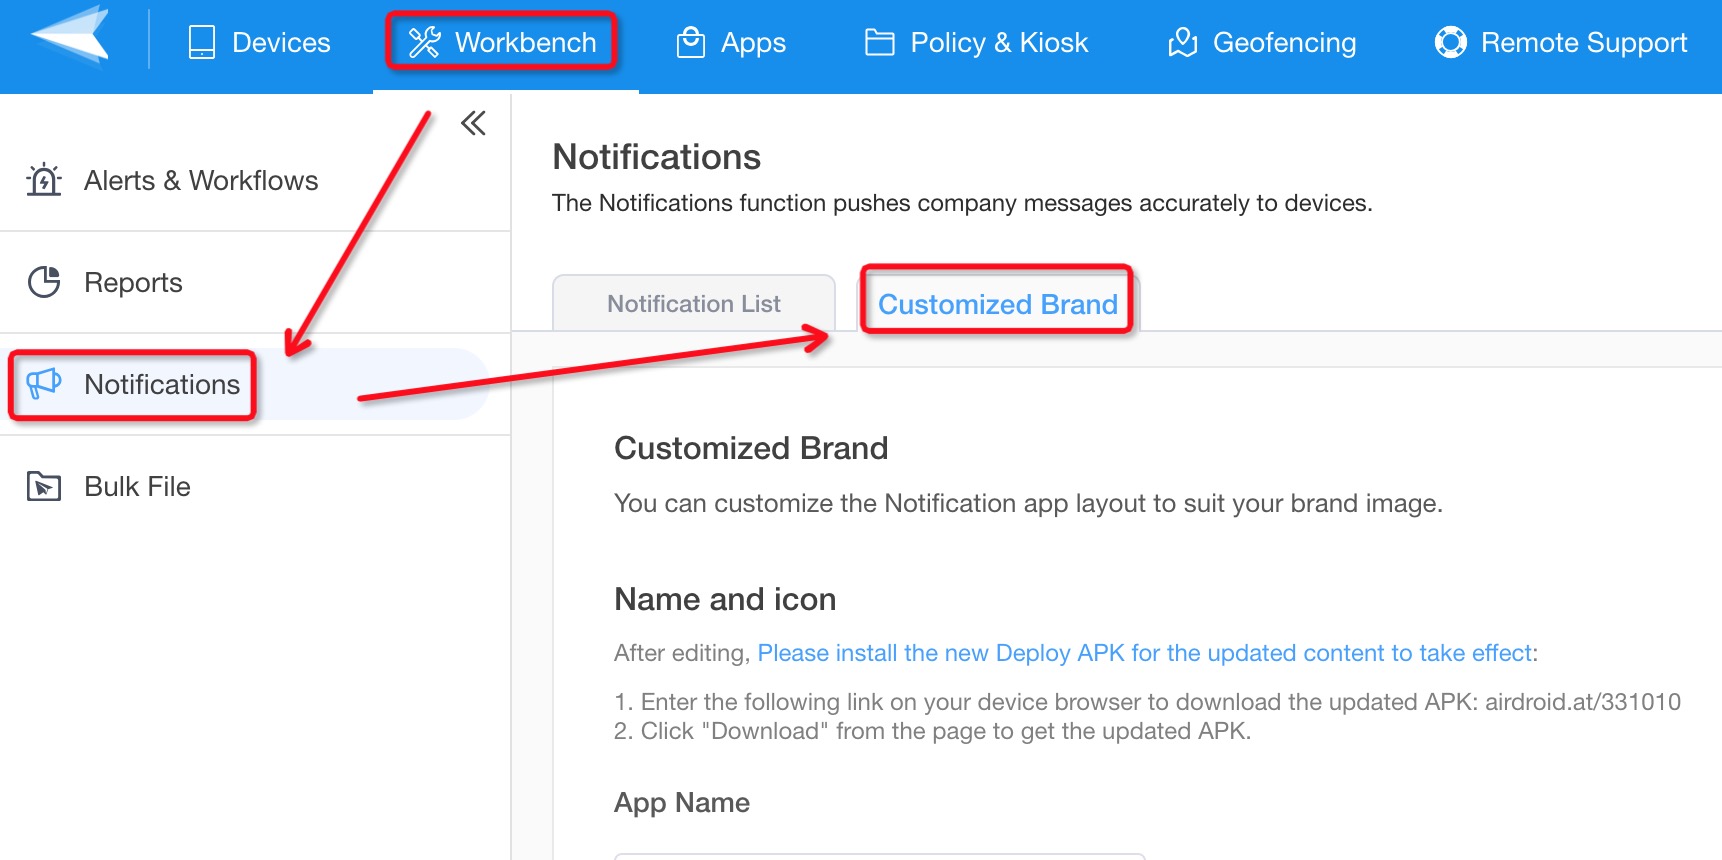
- Step 1Access "Customized Brand"
- Click Workbench >Choose the Notifications tab>Switch to Customized Brand tab

- Step 2Customize the App name and Icon
- For the first section, you can customize the App name and icon, while doing this, please note the reminder at the beginning.
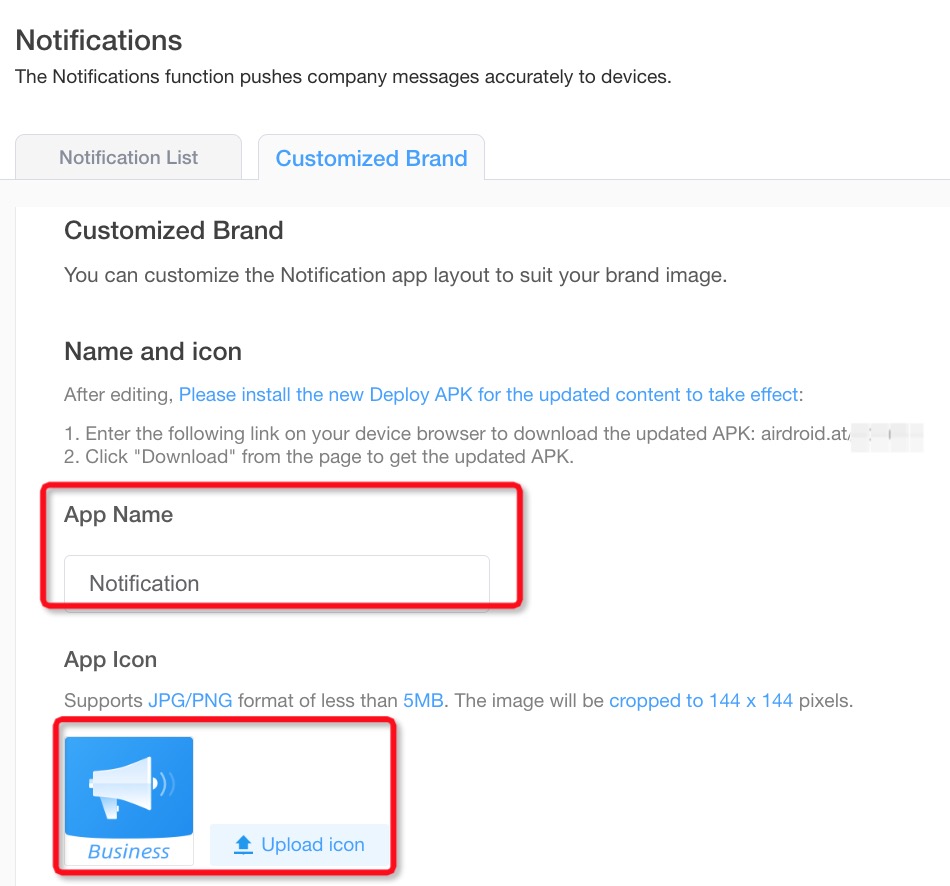

Note : App Icon: Supports JPG/PNG format of less than 5MB. The image will be cropped to 144 x 144 pixels.
- Step 3Launch Page Settings
- You can upload your own image to customize the notification background. And you can preview the outcome in Portrait and Landscape Mode by clicking the Preview button.
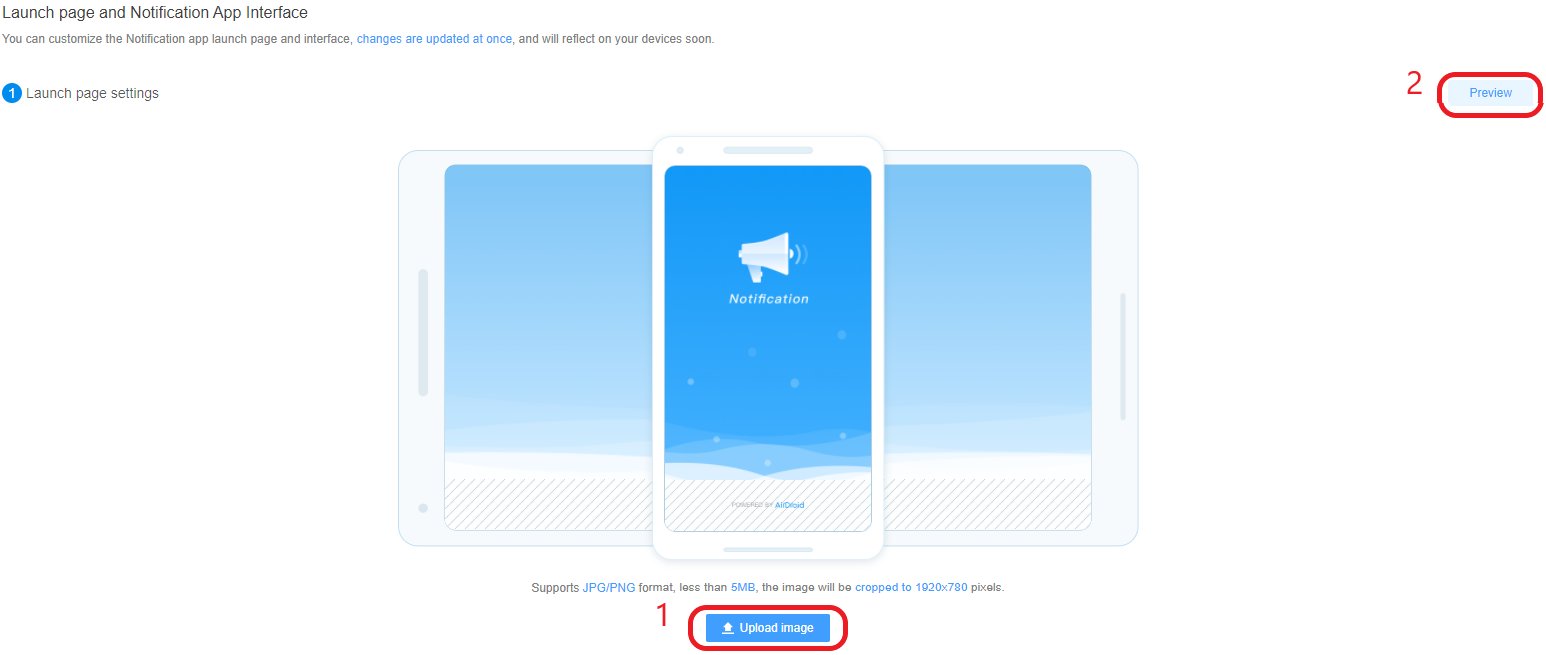

Note : Launch Page: Supports JPG/PNG format, less than 5MB, the image will be cropped to 1920 x 780 pixels.
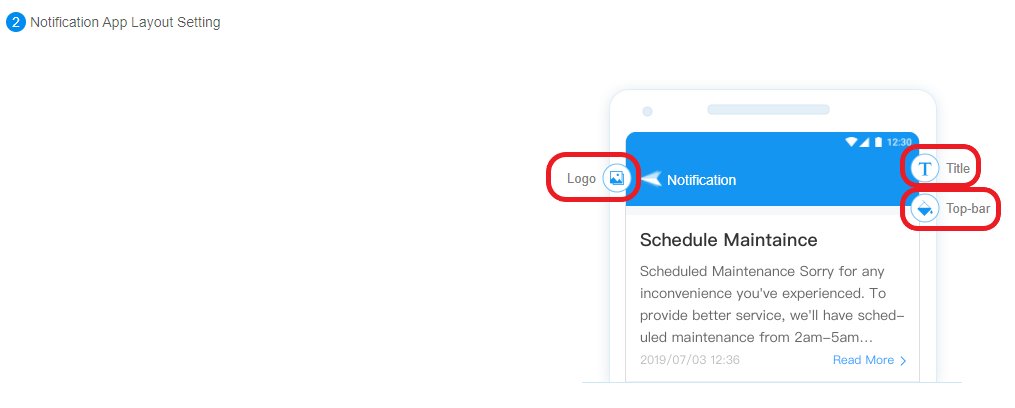
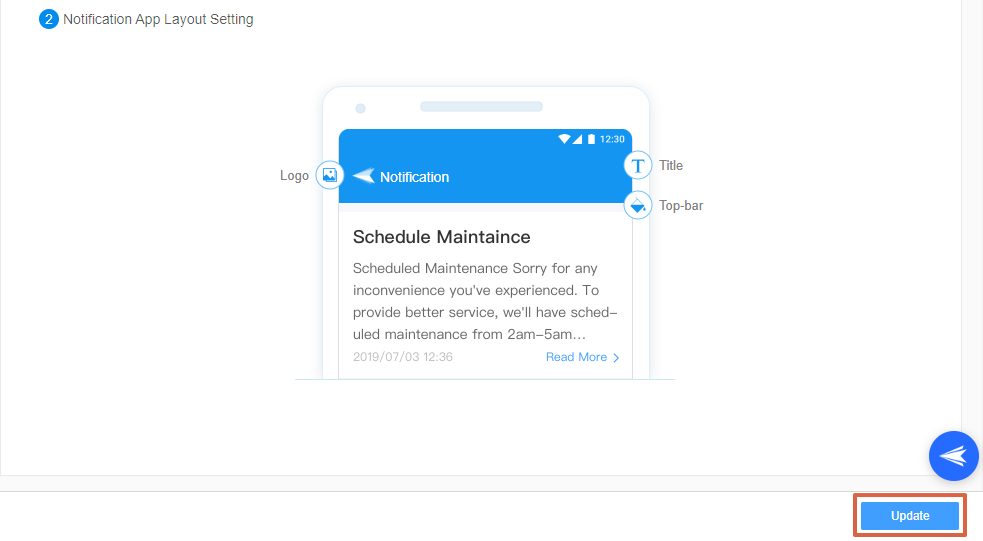
- Step 4Notification App Layout Setting
- At the end of the page, you can customize the Notification App Layout Setting.

- Step 5Save Your Changes
- Click Update on the bottom right of the page to save your changes.

Was This Page Helpful?
Still need help? Submit a request >>
Related Articles
You May Also Like
- How do I Choose the Enrollment Method on AirDroid Business?
- Enrollment Preparation: How to use Provisioning Template?
- How to use The Enrollment via Device Owner?
- How to use Android Enterprise Enrollment?
- How to use Zero Touch to enroll your devices with AirDroid Business?
See all articles